
iPhone video preflight: what to check before an important take
A practical iPhone video checklist for storage, heat, battery, framing, and save confidence before you record an important moment.
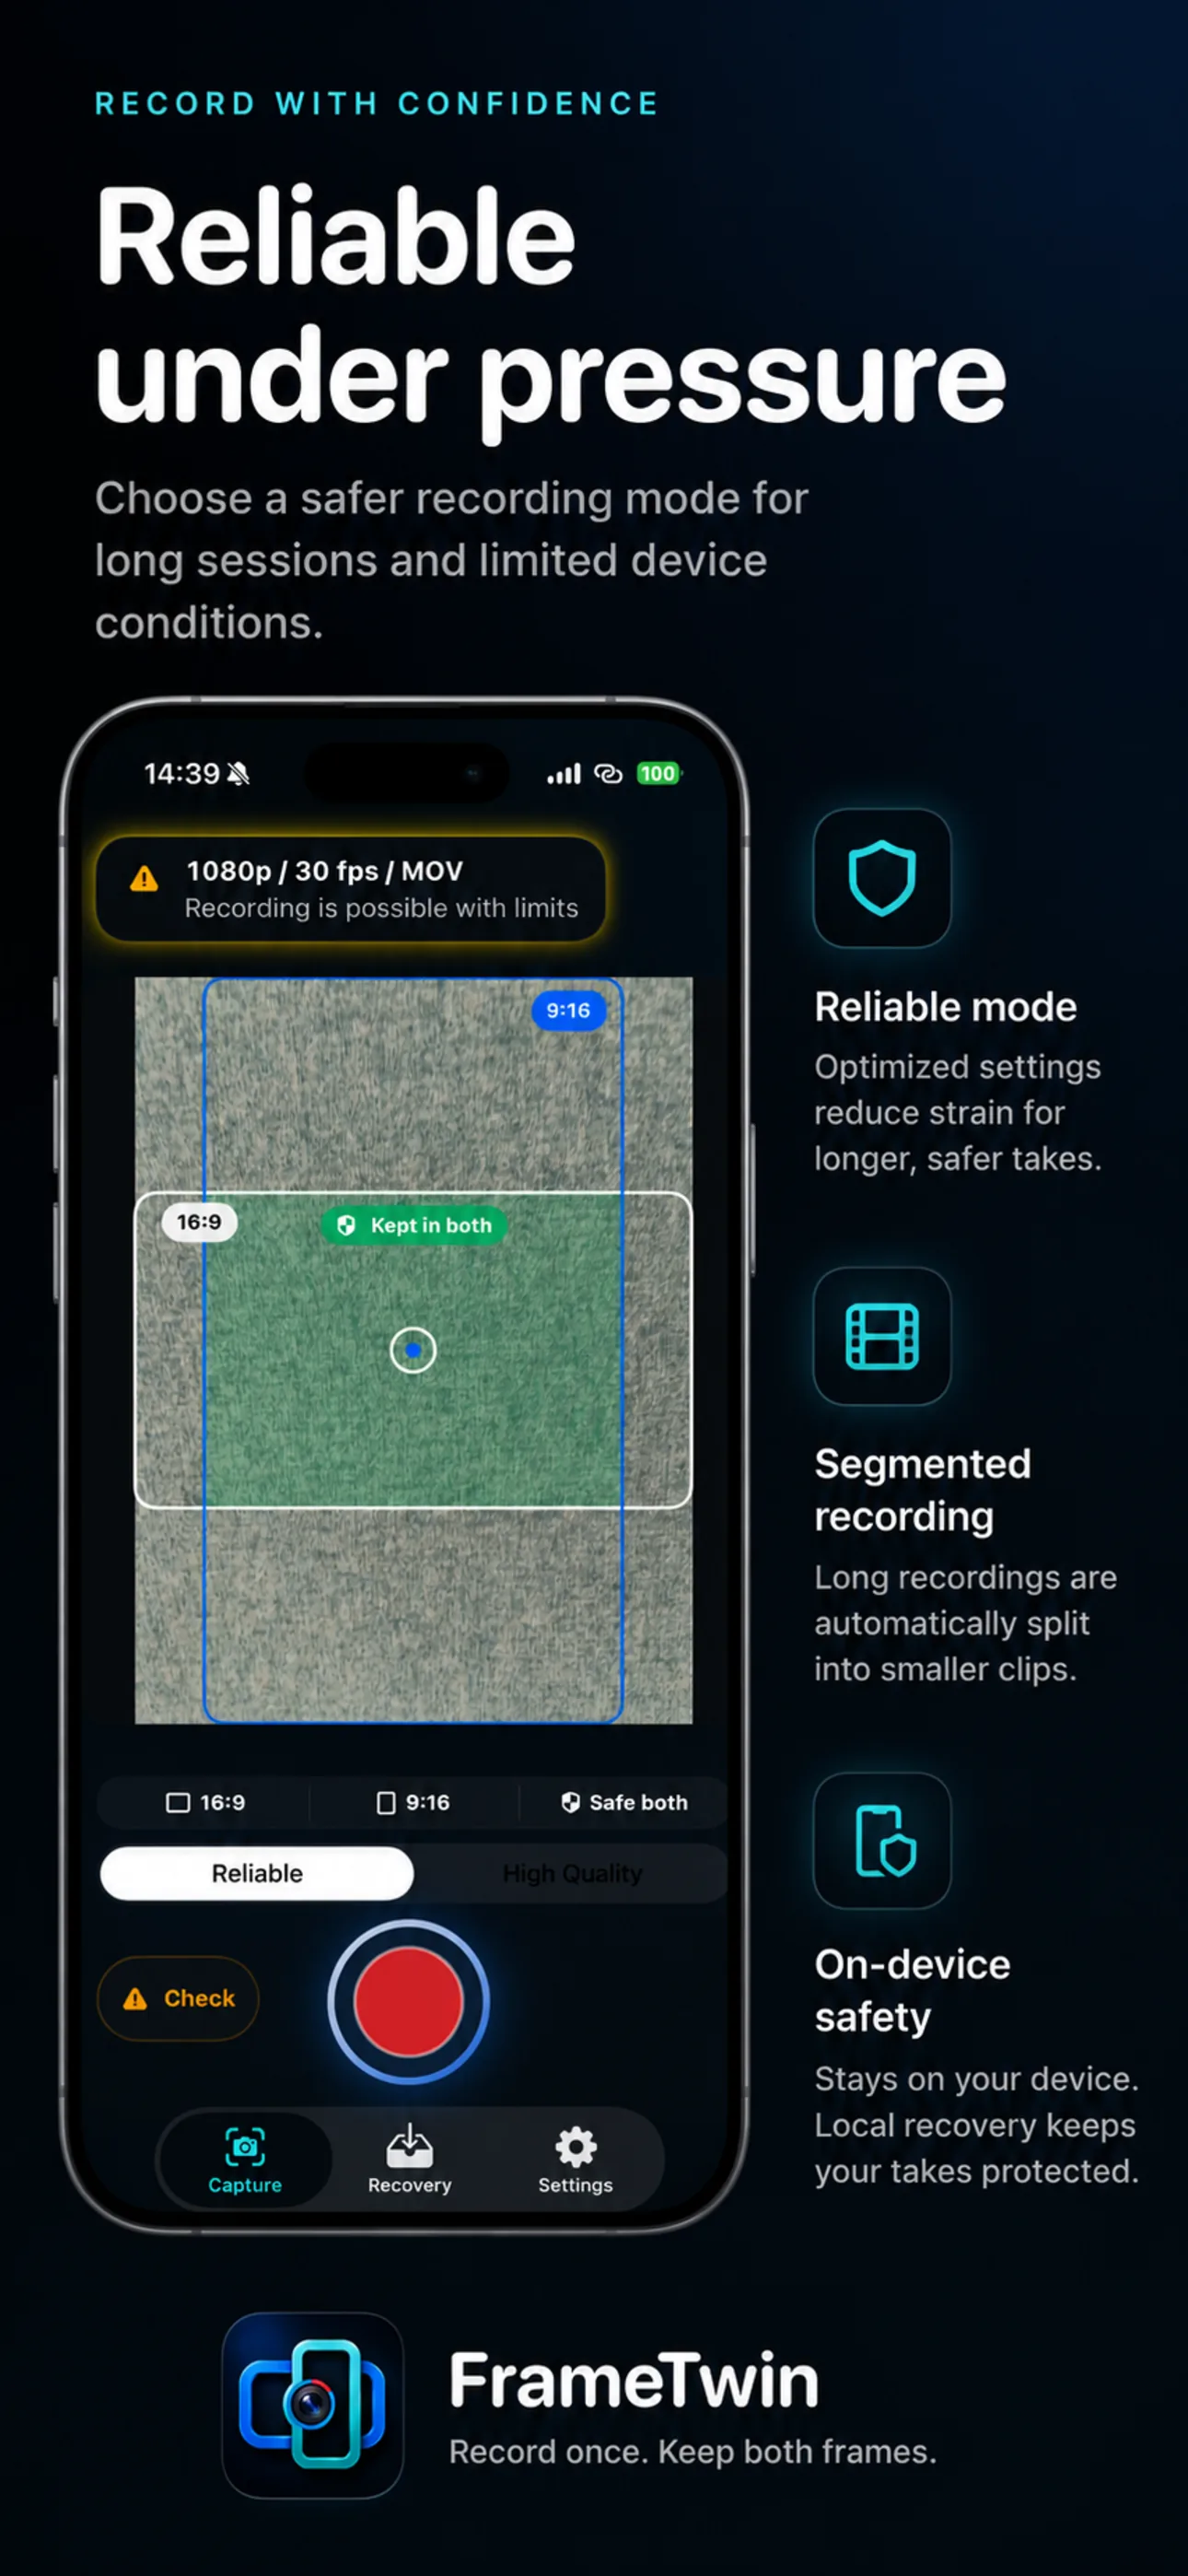
FrameTwin surfaces device readiness and recording risk around a dual-format take, so the next decision is visible before and during capture.
The worst time to discover a recording problem is after the moment is over. Before an interview, client testimonial, event, product demonstration, or one-time performance, spend a minute checking whether the phone and the shot are ready.
This is not about making a camera app feel complicated. It is about moving preventable problems to the only point where you can still fix them.
1. Check storage with room to spare
Video files grow quickly, especially when a take runs longer than expected. Look at the free space on the phone before recording and leave a buffer for both the capture and the save process. If storage is tight, clear space or choose a smaller planned take before the scene begins.
2. Check heat and battery
An iPhone that is already warm, charging in direct sun, or low on battery has less margin for a demanding video session. Move it out of heat, remove an insulating case if appropriate for the situation, and use stable power only when it does not compromise the shot.
The goal is not to promise uninterrupted recording. It is to avoid beginning an important take in an obviously risky state.
3. Confirm the camera settings and framing
Verify the lens, resolution, frame rate, stabilization preference, and orientation before the subject arrives. If the recording needs to work in both 16:9 and 9:16, keep the key person or action in the shared central area. A quick test clip is often faster than repairing a framing mistake later.
4. Make a short test recording
For a high-stakes take, record a few seconds, stop, and inspect the result. Check focus, exposure, sound, framing, and the expected output files. This gives you a chance to catch a setting mismatch while the setup is still in place.
5. Know what success looks like after stop
After the real recording, confirm more than the elapsed timer. Look for the saved output or result state, verify that the key footage is present, and follow any recovery or retry guidance before you dismantle the setup.
FrameTwin brings these questions together around a dual-format iPhone workflow: preflight signals before recording, visible output-writing and risk information during the take, then save and recovery status afterward. The checks are there to help you make a better call; they are not a guarantee that every device, setting, or environment is risk-free.
For the framing side of this checklist, read 16:9 vs. 9:16 on iPhone.